A Beginner’s Guide to Underwater Photography
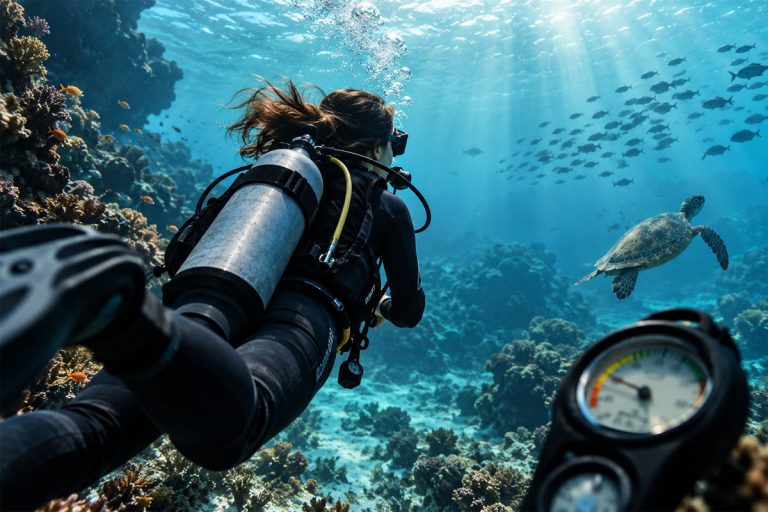
Welcome to the magical, endlessly fascinating world of underwater photography! If you have ever been scuba diving or snorkeling, you already know the profound beauty hidden beneath the waves. Vibrant coral reefs, elusive octopuses, majestic sea turtles, and tiny, alien-like macro critters offer a lifetime of photographic inspiration.
However, taking a camera underwater for the first time can be a humbling experience. The ocean is an entirely different element with its own set of physical rules. Light behaves differently, colors vanish, subjects are constantly moving, and you are floating in three-dimensional space.
If your first underwater photos looked like blurry, blue-green smudges, do not worry—every professional underwater photographer started exactly where you are right now. This comprehensive, beginner-friendly guide will walk you through everything you need to know, from choosing the right camera gear on Amazon to mastering underwater light, avoiding common rookie mistakes, and taking home breathtaking images.
The Prerequisites: Diving and Snorkeling Skills First
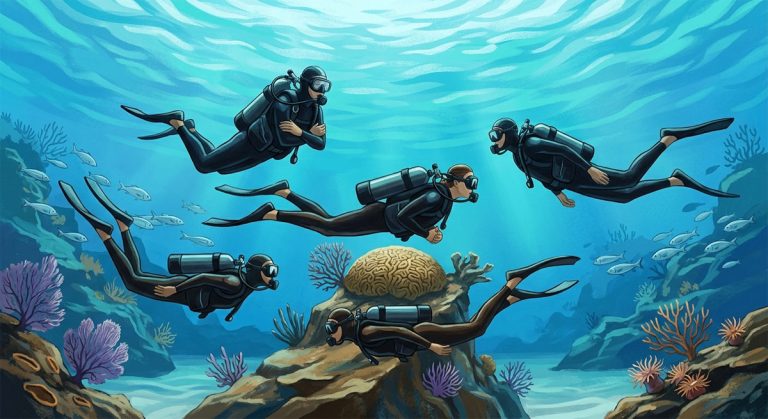
The most important piece of advice in underwater photography has absolutely nothing to do with cameras: you must be a comfortable, competent diver or snorkeler first.
Before you even think about holding a camera, your buoyancy control needs to be second nature. Why? Because the ocean is a fragile environment. An underwater photographer lacking buoyancy control is a danger to the reef, often accidentally kicking delicate corals or stirring up sand that ruins the visibility for everyone.
Furthermore, if you are struggling with your breathing, buoyancy, or mask clearing, a camera will only serve as a dangerous distraction. Task loading is a real risk in scuba diving. You should be able to hover motionless in the water column—a skill known as perfect trim—without using your hands. Once your diving skills are completely automatic, your brain will have the freed-up capacity to focus on camera settings, lighting, and composition.
Choosing Your First Underwater Camera Setup
When you are ready to invest in gear, it is easy to become overwhelmed by complex, multi-thousand-dollar DSLR or mirrorless rigs. As a beginner, it is highly recommended to start with something compact. Here are some of the best beginner-friendly underwater camera setups you can readily find on Amazon.
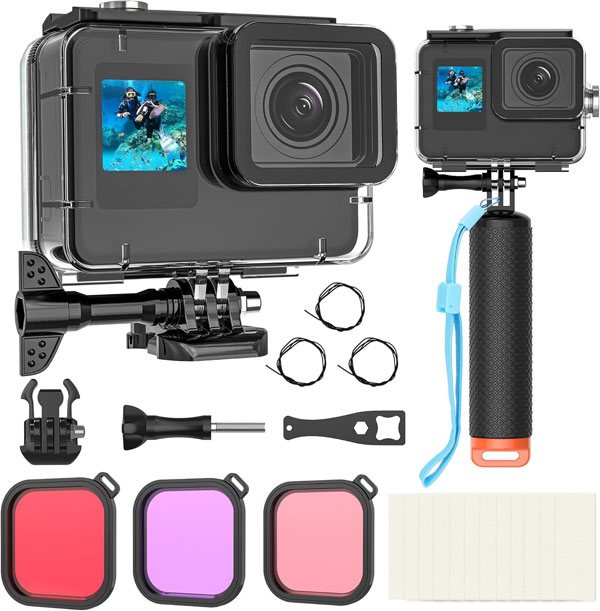
1. The Action Camera Route: GoPro Hero 13 or DJI Osmo Action 5
If your primary goal is capturing high-quality video with the occasional photo, action cameras are phenomenal. They are tiny, robust, and incredibly simple to use.
- Gear: GoPro Hero 13 Black, GoPro Protective Housing (mandatory if you dive below 33 feet / 10 meters).
- Pros: Very affordable, amazing video stabilization, zero learning curve.
- Cons: Fixed wide-angle lens, terrible for small subjects (macro), and struggles in low light.
2. The Fully-Sealed Option: SeaLife Micro 3.0
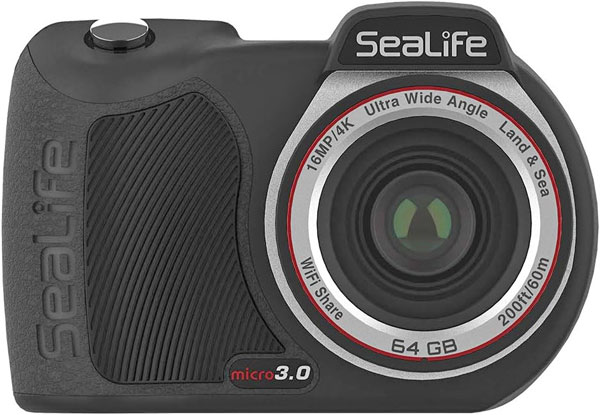
SeaLife specializes in making cameras specifically for divers. The Micro 3.0 is entirely permanently sealed. There are no O-rings to grease, no doors to accidentally open, and virtually zero risk of flooding the camera.
- Gear: SeaLife Micro 3.0 Camera.
- Pros: Impossible to flood, excellent built-in color correction modes, very beginner-friendly.
- Cons: Less room to grow manually, fixed focus lens.
3. The Rugged Compact Route: OM System TG-7
The OM System TG-7 (the successor to the famous Olympus Tough TG-6) is widely considered the undisputed king of beginner underwater photography. The camera is inherently waterproof down to 50 feet (15m), meaning if your external housing accidentally leaks on a deep dive, the camera inside will still survive. It features a legendary “Microscope Mode” that allows you to take mind-blowing close-up shots of tiny subjects.
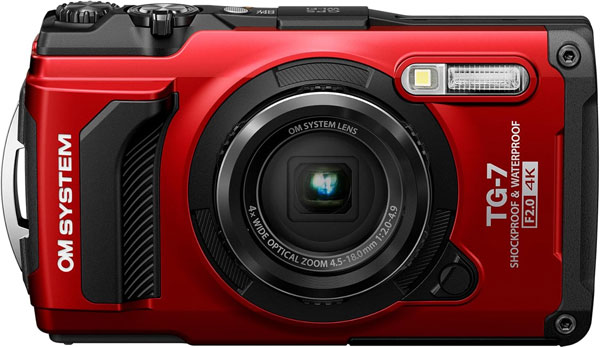
- Gear: OM System TG-7 camera, paired with either the Olympus PT-059 Underwater Housing or the budget-friendly SeaFrogs TG-7 Waterproof Housing (which allows you to take it down to 130ft-195ft safely).
- Pros: Unmatched macro capabilities, double-waterproof protection, shoots RAW files.
- Cons: Sensor size is relatively small compared to premium compacts.
4. The Premium Compact Route: Sony RX100 VII or Canon G7X Mark III
If you have a background in surface photography and want full manual control, larger sensors, and exceptional image quality, premium compacts are a brilliant choice.
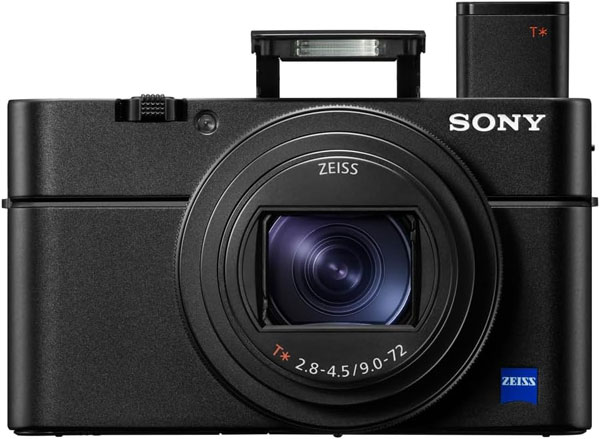
- Gear: Sony RX100 VII, paired with a specialized housing from brands like Fantasea or Ikelite.
- Pros: Fantastic image quality, incredible autofocus, full manual controls.
- Cons: Lenses are not inherently waterproof—a flood means a dead camera. More expensive.
Essential Underwater Photography Gear
The camera body is just the beginning. To get those National Geographic-style photos, you will eventually need a few accessories.
Underwater Housings: Unless you are using a fully sealed camera or staying in very shallow water with a rugged compact, you need a housing. A housing is a heavy-duty polycarbonate or aluminum case specifically molded to your exact camera model. It provides physical buttons that press the corresponding buttons on your camera.
Trays and Arms: Holding a camera in your bare hands leads to shaky footage. A tray is a metal baseplate that your housing screws into, offering two handles. Arms attach to these handles, allowing you to mount external lights.
Lighting (Strobes vs. Video Lights): An underwater strobe is a waterproof flash. When you take a photo, it emits a blinding burst of light that freezes motion and illuminates colors. Video lights provide a continuous, constant beam of light. Beginners often prefer video lights because “what you see is what you get,” but strobes are ultimately superior for still photography as they freeze fast-moving fish and punch through the water much more effectively.
Understanding Underwater Lighting and Color
Water is incredibly dense. As light penetrates the ocean, the water absorbs it, completely altering the color spectrum.
Red light has the lowest energy, so it is the first to disappear—usually vanishing entirely by the time you reach 15 feet (5 meters). Orange disappears around 25 feet, yellow at 35 feet, and green at 50 feet. By the time you are 60 feet down on a shipwreck, everything looks like a monochromatic, dull blue-gray.
To combat this, you have three options:
- Stay Shallow: If you shoot at 5 to 10 feet deep on a sunny day, natural light provides all the beautiful, vibrant colors you need.
- Use Red Filters: A piece of red acrylic placed over your camera lens can trick the camera’s sensor into “adding” red back into the image. This works decently well between 15 and 50 feet, especially for video.
- Bring Your Own Light: This is the professional way. By using a powerful strobe or video light, you are essentially bringing the sun with you. When your light hits a coral reef 80 feet deep, the brilliant reds, oranges, and purples instantly explode back to life.
Practical Tips for Better Underwater Photos
Taking the camera underwater is exciting, but utilizing proper techniques will drastically accelerate your learning curve.
1. Get Close, Then Get Closer
The number one rule of underwater photography is to eliminate as much water between your lens and your subject as physically possible. Water is full of plankton, sand, and particulate matter. Shooting a turtle from 15 feet away will result in a hazy, unsharp image. Try to get within 1 to 3 feet of your subject (without harassing it). If you want to shoot something big, you need a wide-angle lens, not a zoom feature.
2. Shoot Upwards, Not Downwards
When we swim over a reef, our natural instinct is to look down and photograph the fish below us. This results in the subject blending into the messy, cluttered background of the reef. Instead, drop down (careful of your buoyancy!) so you are at eye level or slightly below your subject. Shoot slightly upwards. This isolates the fish against the beautiful, clean blue water of the background, making your subject pop.
3. Focus on the Eyes
Just like in portrait photography on land, the eyes are the windows to the soul. If a fish’s tail is slightly out of focus, the viewer will not mind. If the eye is out of focus, the photo is ruined. Always put your focal point squarely on the subject’s eye.
4. Let Marine Life Come to You
Marine animals are wild, and fast. If you aggressively swim toward a turtle or a fish, it will view you as a predator and swim away. The best photographers find an interesting subject, move slowly, breathe calmly, and wait. Often, a curious fish will swim right up to your camera dome port to check its reflection.
5. Shoot in RAW
If your camera has the capability (like the TG-7 or RX100), configure it to shoot in RAW format rather than JPEG. A RAW file holds vastly more color and lighting data. Because underwater lighting is so tricky, shooting in RAW gives you immense flexibility to correct weird blue or green color casts on your computer later.
Common Beginner Errors to Avoid
Avoid these pitfalls that trip up nearly every new underwater photographer:
Error 1: The Backscatter Blizzard
Backscatter is the term for those thousands of annoying white specks that ruin your photo. They occur when your camera flash illuminates the sand and plankton floating directly in front of your lens.
- The Fix: Never point your strobes directly at your subject like headlights. Position your strobes far out to the sides (at the 10 o’clock and 2 o’clock positions) and angle them slightly outwards. You want to light the subject with the inner edge of the light beam, leaving the water directly in front of your lens dark.
Error 2: Chasing the Tail
Beginners often end up with memory cards full of “fish butts”—the back halves of marine life swimming away.
- The Fix: Never chase an animal. Wait for the subject to turn sideways or face you. An image of a fish swimming out of the frame is fundamentally unappealing.
Error 3: Ignoring Dive Safety
It is horrifyingly common to see beginners get so hyper-focused on looking through a tiny LCD screen that they accidentally drop 30 feet below their planned depth, lose track of their dive buddy, or forget to check their air gauge.
- The Fix: Treat your camera like a secondary guest. Every 60 seconds, physically pull your eyes away from the screen. Check your air. Check your depth. Find your buddy. Find your dive guide. Photography is never worth a decompression sickness incident or an out-of-air emergency.
Post-Processing Your Underwater Images
Even the greatest underwater photographers in the world edit their photos. Because water destroys contrast and color, your raw images will almost always look a bit flat straight out of the camera.
Software like Adobe Lightroom or even free mobile apps like Snapseed are vital tools. When you open an underwater photo:
- Adjust the White Balance: Use the eyedropper tool on something that should be a neutral white or gray (like a patch of sand or a scuba tank). You will likely need to push the “Tint” slider toward Magenta and the “Temperature” slider toward Warm/Yellow to counteract the deep blue sea.
- Boost Contrast and Dehaze: The Dehaze tool in Lightroom is pure magic for underwater photos, cutting through the natural murk of the water.
- Spot Removal: Use the healing brush tool to click away the inevitable few dots of backscatter that made it into your composition.
Caring for Your Gear: The Art of Not Flooding
Saltwater is highly corrosive and electronics despise it. Proper maintenance is the only thing standing between your expensive camera and a catastrophic flood.
1. The O-ring Maintenance
Your underwater housing relies on rubber O-rings to keep the water out. Before every dive, remove the main O-ring, inspect it under a bright light for hairs, sand, or lint (a single grain of sand will cause a leak). Clean it, and apply a microscopic amount of silicone grease. The grease does not make it waterproof; it merely keeps the rubber from drying out and cracking. It should look slightly shiny, but never gloopy.
2. The Pre-Dive Dunk
Before jumping off a boat, submerge your fully assembled, empty camera setup in the boat’s freshwater rinse tank. Hold it there for 30 seconds and look for a steady stream of bubbles. A stray bubble or two from the outside buttons is normal, but a continuous stream means you have a leak. Pull it out immediately!
3. The Post-Dive Rinse
The second you exit the ocean, put your camera into a dedicated freshwater rinse tank. Salt crystals form as saltwater dries, and these microscopic crystals act like razor blades, tearing up your O-rings and jamming your housing’s buttons. When you get home, soak the housing in warm fresh water while pressing all the buttons to work out any hidden salt.
Ready? Dive in and Start Clicking Away!
Underwater photography is arguably one of the most challenging genres of photography in the world, combining the technical demands of studio lighting with the physical environment of an astronaut in space. It takes time, patience, and a lot of trial and error.
Do not get discouraged if your first few dives yield nothing but blurry fish tails and blue water. Focus on your buoyancy, master your camera settings incrementally, respect the marine environment, and most importantly—remember to occasionally lower the camera, take a slow breath from your regulator, and simply enjoy the magnificent ocean around you. Happy diving!